 Member Connect
How to Clean Up Your Windows Desktop
Is your Windows desktop crowded and cluttered? Follow these steps to wrangle it back into order: organized & easy-to-use!
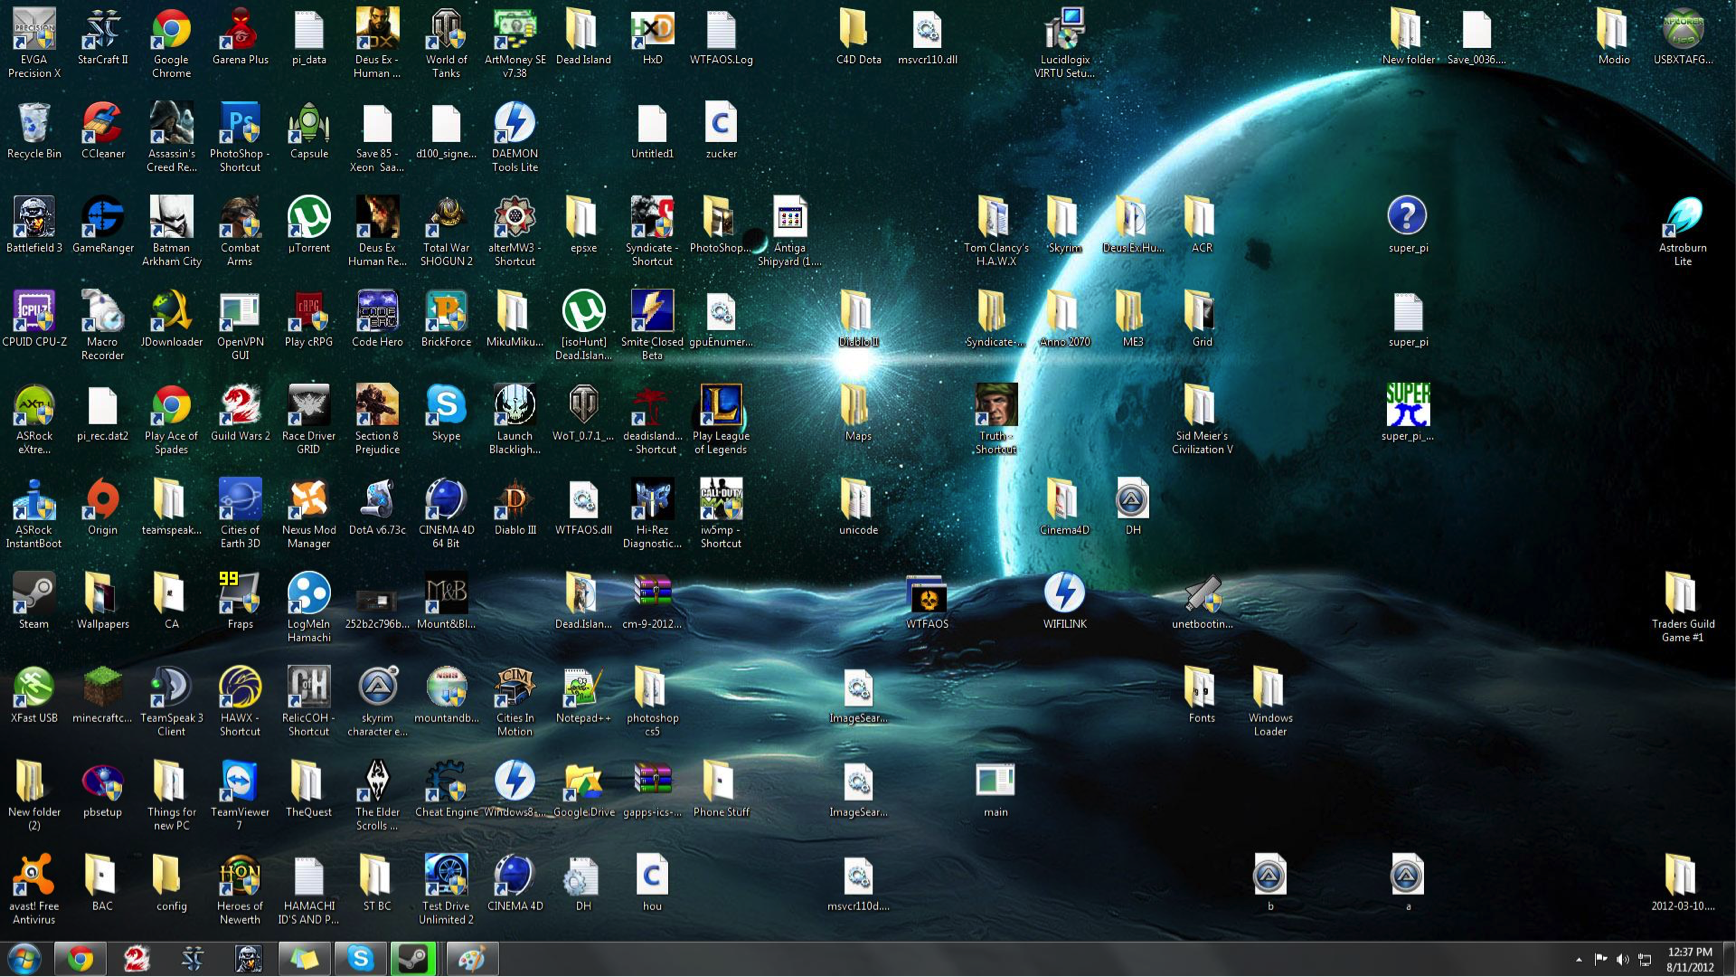
Does your Windows desktop look like this?
If so, you're not alone. Your desktop is a great place to store items for easy access. However, if you put too many things on your desktop, it can cause problems. The first is that it actually becomes counterproductive; the items that you wanted front and center suddenly become difficult to find in the clutter! The second (and more serious) problem is that too many items on your desktop can slow your computer down.
Funny story: My mom's desktop looks like this. When I asked why she keeps so many things on the desktop, her response was, "I don't know where to start to clean it up! I can't tell which icon is a file and which one is a shortcut." Since many people give us similar responses, today we're going to help you understand and organize your desktop.
Want help using this guide? Wondering how Bask can help you enjoy technology comfortably and confidently? Call us today for a free question & answer session, or schedule one here: Speak with a Bask Technology Advisor
Get Rid of the Excess
The first step to cleaning up your Windows desktop is to get rid of everything you don't need. You can start by going through each and every icon on your desktop and making a list of everything you don't frequently use.
Once you've determined what you can get rid of, it's time to delete the icon! There are two easy ways to make an icon disappear from your desktop. The first is to right click on the icon with your mouse. When the drop down menu appears, select "Delete." The second option is to left click on the icon and drag it to the Recycle Bin.
Am I Deleting a File or a Shortcut?
Many people worry that if they delete an icon on their desktop, it deletes the program or file. This is a common misconception. In fact, most icons on desktop are simply shortcuts. The actual file or program is located somewhere else on the computer. So by deleting the icon, you're just getting rid of the shortcut. However, if you want to make sure, there are two things you can do first.
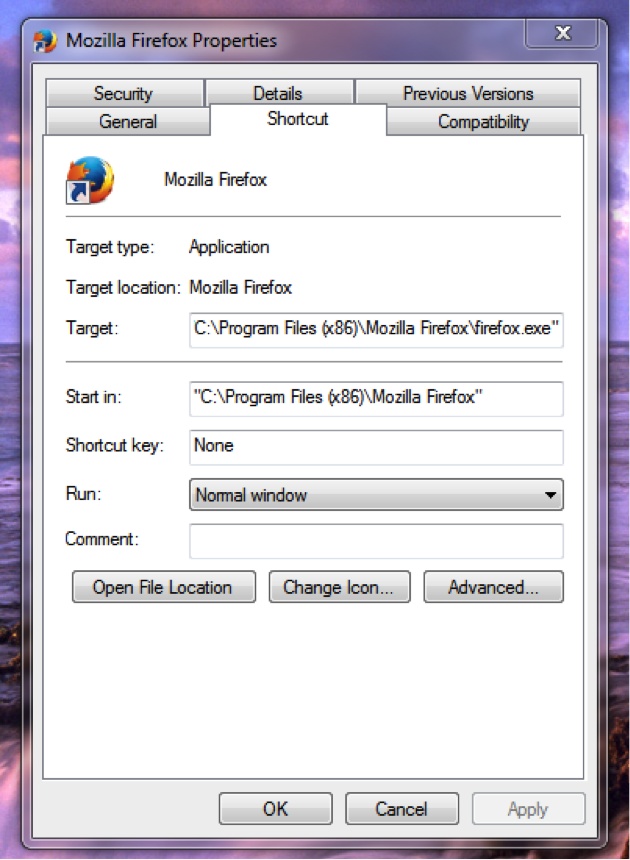
#1. Right-click on the icon. When the drop-down menu appears, go to the bottom and select "Properties." This will give you one of two boxes. The box that will open up either opens to a Shortcut tab (see example 1) or a General tab (see example 2). This is one way to tell if a shortcut or a file.
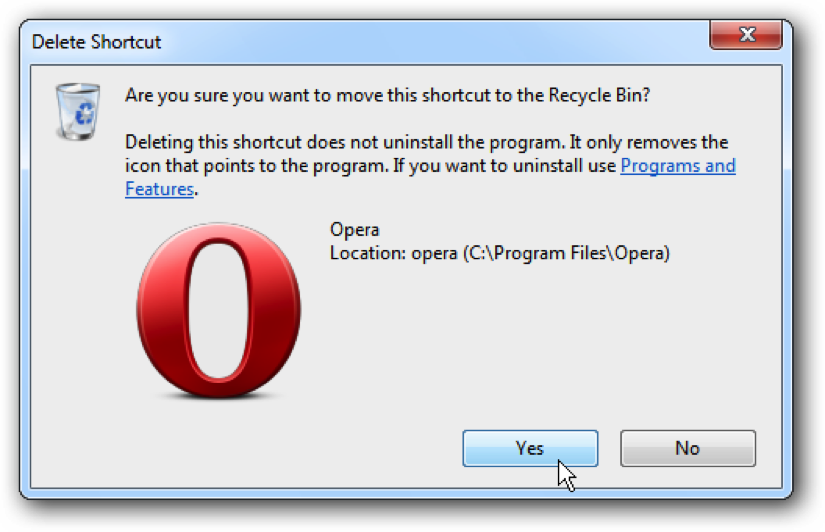
#2. Left-click on the icon. Drag it to the Recycle Bin. You will now see one of two messages. The first message will say "Are you sure you want to move this shortcut to Recycle Bin?" (with a sub-message that it will not uninstall the program). It will also say "Delete Shortcut" at the top of the box (see example 3). The second message will ask, "Are you sure you want to move this file to the Recycle Bin?" Once again, notice the top of the box where it says "Delete File" (see example 4).

Decreasing Your Desktop Icons
At this point, you have gotten rid of all shortcuts or files you don't need. However, your desktop still might look cluttered. Another way to clean up your desktop is to organize your remaining icons into folders. You can group all your similar icons (i.e. word documents, pictures, etc.) into folders in order to have fewer items on your desktop.
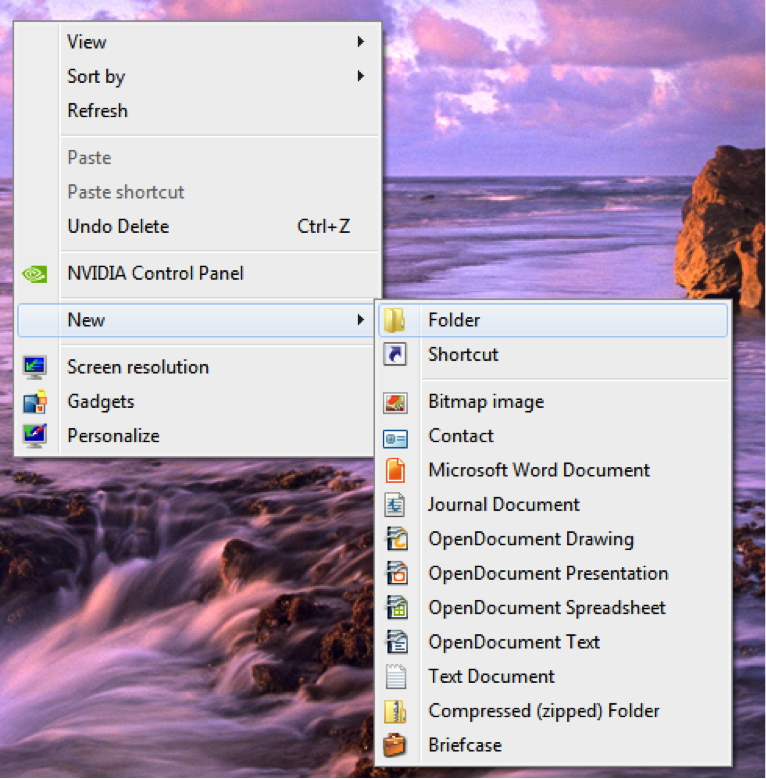
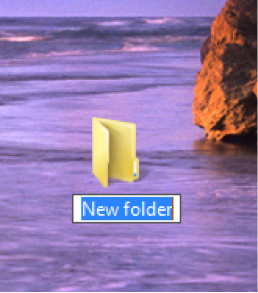
The easiest way to create a new folder on your desktop is to right-click on a blank space. Your desktop will then give you a drop-down menu. In the drop-down, there will be an option for "New"; If you hover your mouse over "New," you will see another drop-down menu. Click on "Folder" (see example 5). This will create a new folder on your desktop! It will also automatically give you the chance to name it (see example 6).
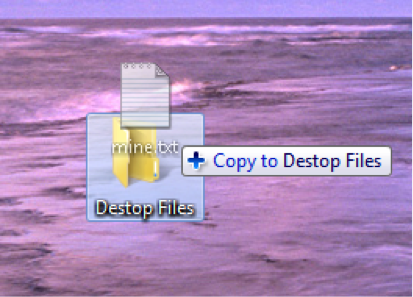
After creating the new folder, you can now move items into it. The easiest way to move an icon into a folder is to left-click on the icon, drag it to the folder, and then release it. When dragging the file over the folder, it will notify when you can let go by giving a message: "Copy to [new folder's name]" (see example 7).
Organizing Your Folders
Now that your unnecessary items have been deleted, and your remaining icons are in their proper folders, it's time to make sure everything is arranged in orderly columns. Luckily, Windows has a feature that makes this really easy. Simply use your mouse to right-click on any blank spot on your desktop. When the drop-down menu appears, move your cursor over "View." In the second drop-down menu, click on "Auto-arrange icons" (see example 8). Windows will then automatically organize your folders so that they are lined up nice and straight on your desktop.
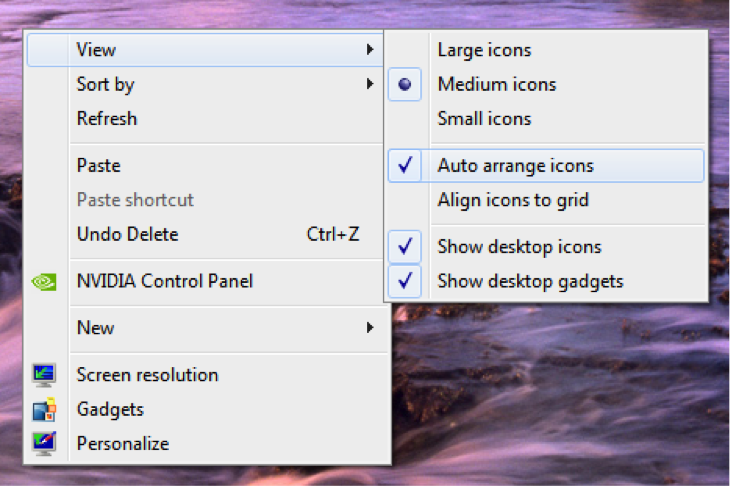
Bonus Tip: In this same menu, you can actually pick the size of your icons (i.e. small, medium, large).
At this point, your desktop should look amazing! By taking the time to delete old icons, set up folders, and organize everything on your desktop, you have gone a long way in keeping your desktop clean and making your computer easier to navigate.
Did you find this post helpful? Bask's blog is regularly updated with education and entertainment for the every-day tech user. Subscribe to our email newsletter today, and call us any time at 1 (866) 515-4865 to learn more about how we can support your digital life!