 Member Connect
Tips and Tricks for Using Microsoft Word 2013
Microsoft Word has become the staple word processor for personal computing all over the world. Whether you’re new to Microsoft Word 2013 or new to a computer, these handy tips will help you create quality documents for your personal or professional life. If you need additional help creating a word document, Microsoft has created videos to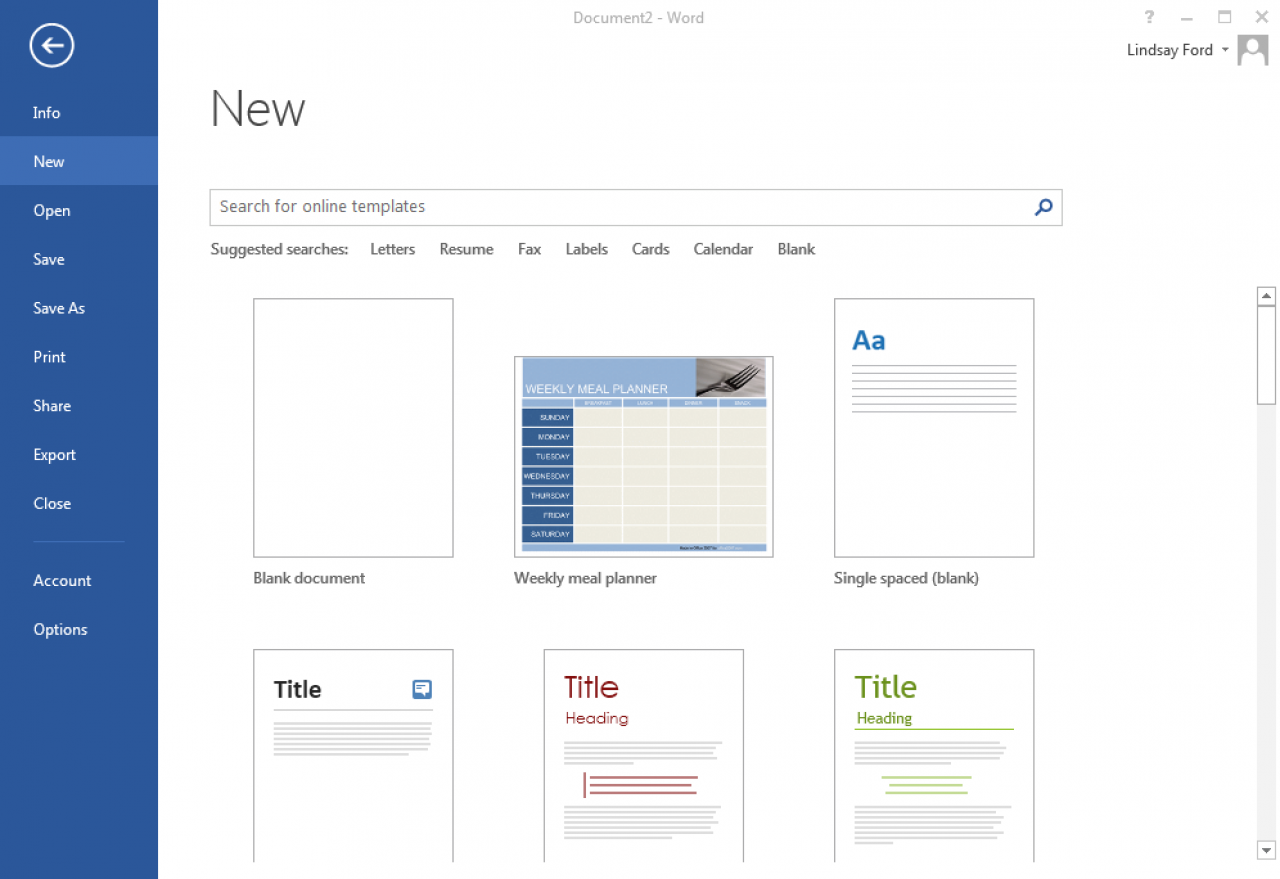
Microsoft Word has become the staple word processor for personal computing all over the world. Whether you're new to Microsoft Word 2013 or new to a computer, these handy tips will help you create quality documents for your personal or professional life.
If you need additional help creating a word document, Microsoft has created videos to walk you through the steps. Check them out here.
Getting Started
When you start Word 2013 you can select a blank page or a template from the gallery. You can search templates by category or you can search for more templates online. If your eyes are straining to view the templates, you can click it to open a large preview.
When you start Word, you'll see a list of your most recently worked on documents in the left column. If the document you want to view is not in the column, click Open Other Documents. If you are already in Word, click File > Open and then browse to find the file you are looking for.
To save the document you are working on click the File tab, select Save As, and browse to the location where you would like to save your file. If you want to save your document on your computer, choose a folder under Computer or click Browse. (Do you remember the Windows hot key shortcut for saving a document?)
Design
You can format and design your document in Word by choosing different themes, colors, and fonts. You can find these options under the Design, Insert, and Home tab.
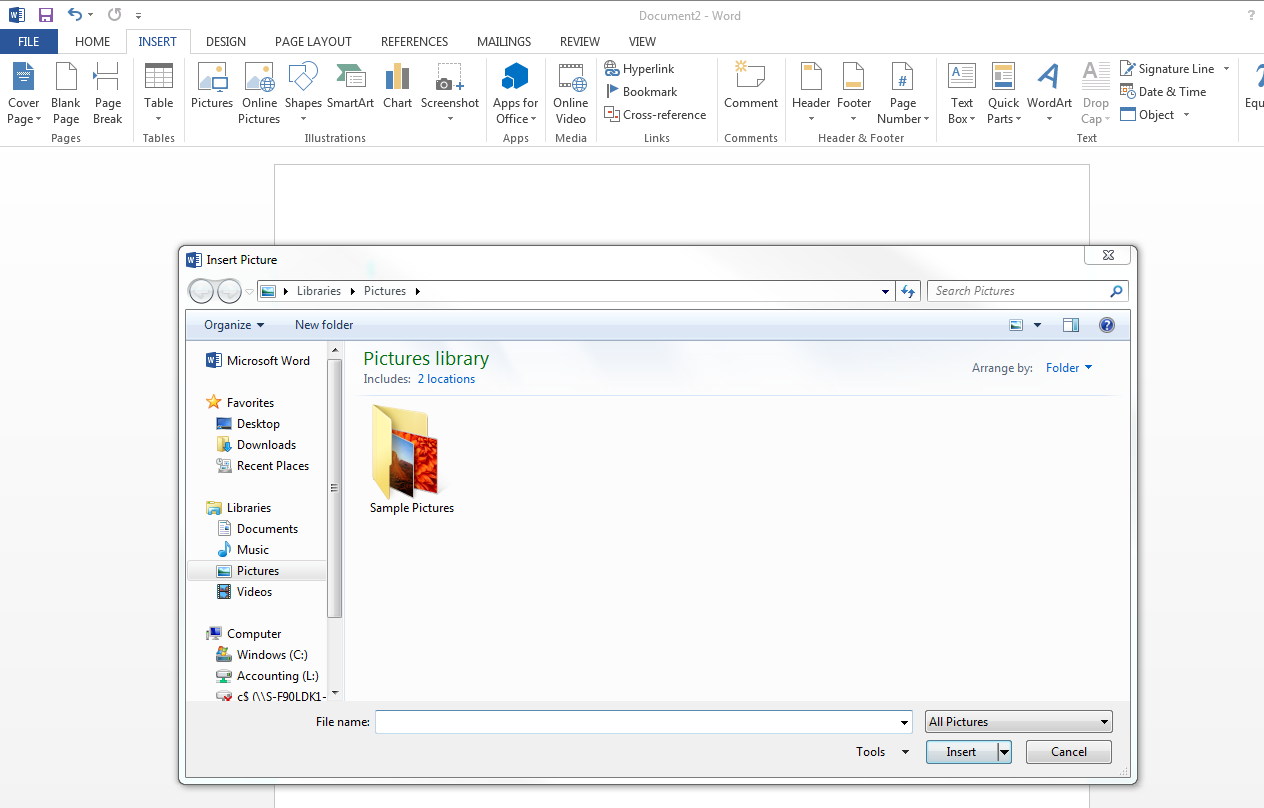
If you would like to add an image to your document, click on the Insert Tab > Pictures, and browse through your saved photos to find the picture you would like to upload. Once you have the photo you want selected click Insert.
You can also add online images, shapes, charts and smart art to your document. All of these can be found under the Insert tab. To change the color, font, and size of the text you are using, go to the Home tab. Colors will be found under the "A" Font Color button with a small color box underneath. The Font and Size are next to each other above the Bold, Italicize, and Underline box.
Proofreading
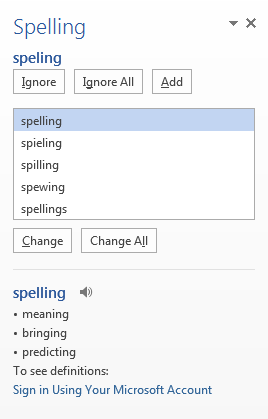
Once you have your content written and your images in place you want to make sure your grammar, usage, and spelling are correct. Word has a number of tools built into the program to assist you. By going to the Review page you'll see a Spelling & Grammar button. Once you click on the button, a box will pop up on the right hand side of your document, highlighting any spelling or grammar mistakes you may have made. You can easily fix your grammar mistakes by clicking on the correct spelling options it gives you and hitting the change or change all button.
If you have questions about Word, let us know in the comments below. Or if you are a Word pro and have sneaky tips to share, we'd love to hear those as well!